27/11. It's been a while since I did anything with the car, mainly because I've been working on the other cars. But I've decided it's time I got stuck into the engine and sorted it out. After sitting for a while it needs a few things sorted. The timing belts are due to be replaced now along with the other belts. 5th to 4th gear bulk ring could do with being replaced and it has a sticky valve either on No7 or 8 cylinder. I also want to give the engine a really good cleaning and repaint it to have have it looking a nice as I can get it. To do all this I'm going to take the engine out. I plan on doing everything over the next 3 months so won't be at it everyday. This will be fun.


So to start with I'm removing everything in the engine bay that can be removed so I get as much room to work as I can. First thing was to remove the airbox. Pretty simple as it's only held on with a big jubilee clip.

There is a pipe attached to the airbox but I could only get at it once the box was off the injection system.

Next today was to start disconnecting the various pipes including metal pipes at the bulkhead to this little unit.

Oil cooler next. It has a plastic cover on it that runs to the vent on the left side wing. 3 10mm nuts hold it on but it's tight to remove and takes a bit of wiggling to get out. Once it's off the oil cooler pipes can easily be got at to losen off. I did take the bottom pipe off at the engine as I found it easier to do. Again the cooler is held on with 3 10mm nuts. Once the cooler is out there is a lot of room to play with.

Since I was doing so well today I got under and took the exhaust back box off.

View of the rear with the exhaust off. after the photo I took that U shaped bit of exhaust off. Manifold will be the next thing to take off.

29/11. Coil packs before removing them so I know were the wires go when I start putting it all back together.

01/12. I had and hour to play with today so got the fuel injection unit off. It's only held on with 3 10mm nuts.The 8 injections pipes took no time to get off. I made sure I labelled everything.


10/01/2009. Removing the aircon pump. It's relatively straight forward. Take off the right side inner wheel arch. Then the lot is there for you to see. The 2 aux belts need to be removed. Aircon belt needs the tensioner slackened and removed. You can see the 13mm spanner hanging on the nut to be removed. I've already removed the metal water pipe as it blocks movement and it would have had to be removed at some point anyway.

Once the belts are out of the way the aircon system needs to be drained. This can be done in 2 ways. At the front of the car is the bottle were the gas is put in and it has a valve pretty much the same as a tyre valve which when pressed in lets the gas out. There is also another one on the end of one of the pipes that go into the top of the pump itself. I double checked the system was empty with checking this. Again it's a valve the same as a tyre valve.


Only when I was happy that the system was clear did I take off the 2 pipes. Then it's just a matter losening off all the bolts that hold the pump on. The bottom bracket has to come off first, then the pump after it. A hint is to leave one of the top ones to the last as the pump is quite heavy and if your taking it out by yourself it's easier to hold while taking a top bolt out. You can only remove the top bracket after the pumps out because there is a 17mm nut hiding in the corner.
Everything out on the ground. I didn't cover how to remove the altenator as it's covered in an earlier part of the history.

Only one pipe needs to be removed from the carbon box by the look of it but when I'm putting everything back together I'll tidy and clean this up.

27/01. Removed one of the driveshafts today as I had a spare hour. They are held on with 12 bolts (6 per side) with hexi heads. And boy are they tight. The trick to get them off is to make sure the hand brake is on while you lose them all first. Be sure though that the inner ones at the gearbox are losened first. Once all the bolts are out the shaft just lifts out.

01/05. It's been a while since I was working on the car but today was a big day as I got the engine out. Luckily a mate, Michael, came round to help because I would never have got it out on my own. We had to hoist it a bit using straps and then turn it on it's side to get it to come out. It was tight no matter which way we moved it and took us over 3 hours to get it into a position we were happy with. The first photo is the angle we ended up getting it out at.

Empty engine bay. It's going to take some cleaning and painting.
![]()
Engine now on the cradle it will rest on until it's ready to go back in.


15/05. I'll be tinkering at the cleaning parts of the engine while I'm doing other stuff but started with one of the timing belt covers to see how well they can be polished up. Looks like they will come up great.

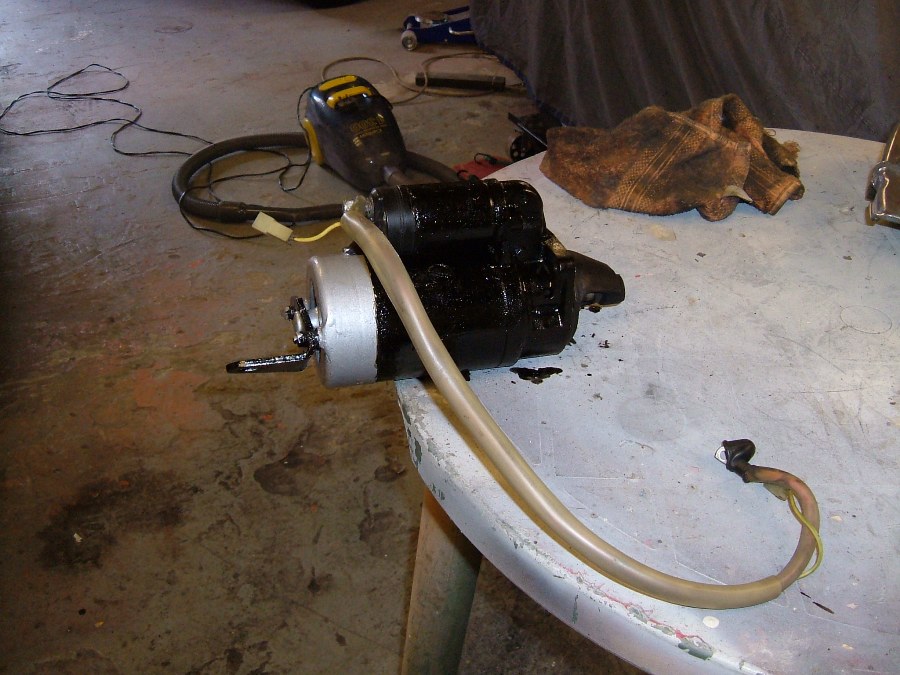
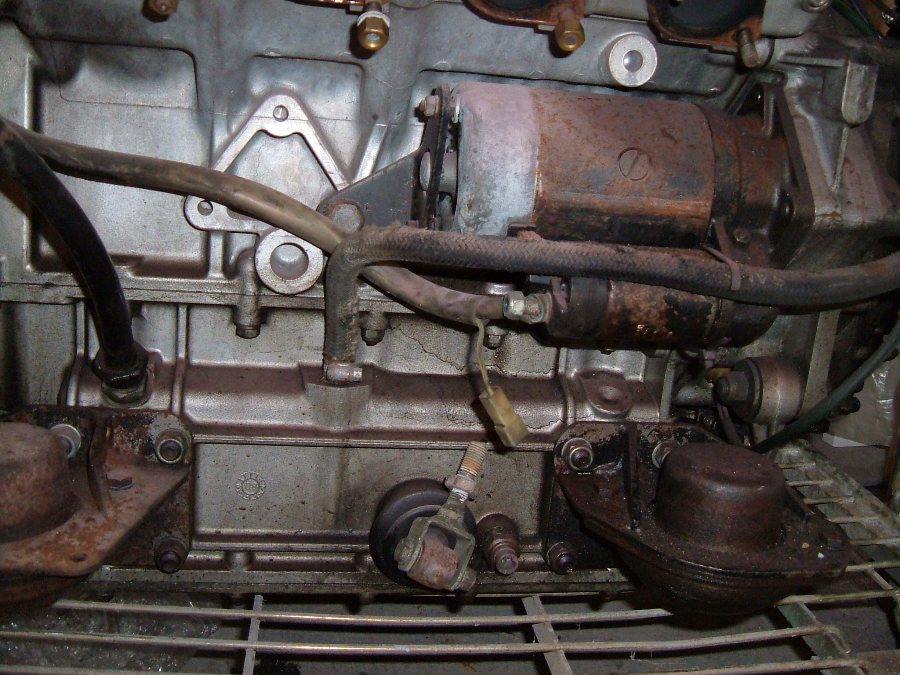
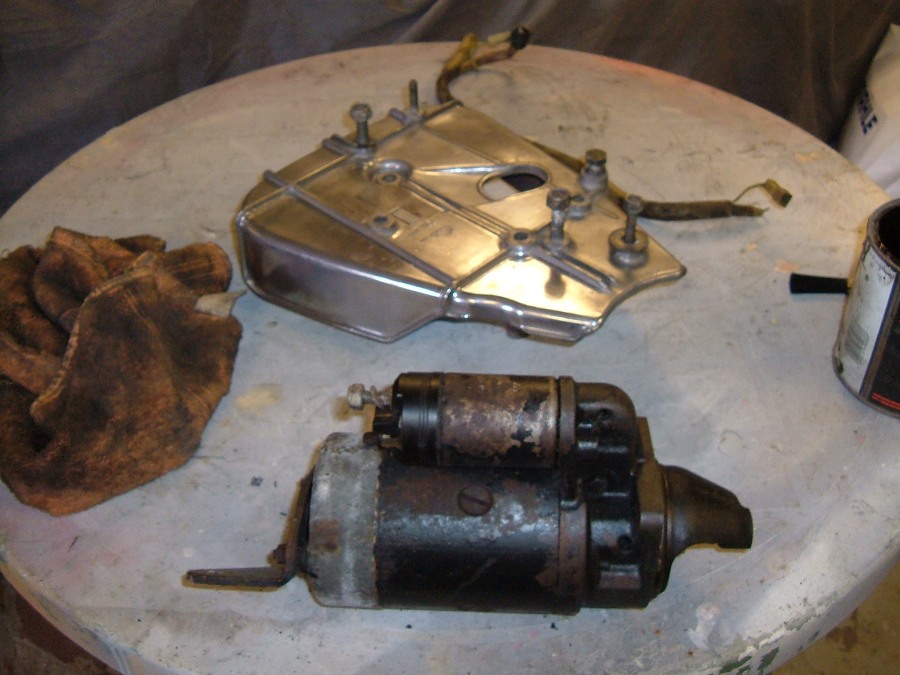
15/06. Got a little time to work on the engine today so I took the starter off to get it sorted.
Starter off and cleaned to be painted.
And painted with wiring from it cleaned up to.